Objectives & prerequisites
- Become familiar with Webform's Form Builder and Element Editor.
- Explore an existing webform.
- Rename an element.
- Remove an element
Introduction
Webforms are built and configured in two different places:
- The elements, their properties, and how and where they are displayed, are managed in the Build section.
- The form's options (access, visibility, redirect options, post-submit actions, ...) are managed in the Settings section.
In this unit you'll work with the Form Builder to create forms, and add elements to them.
In a next unit you'll customize some of the forms' settings.
The Form Builder
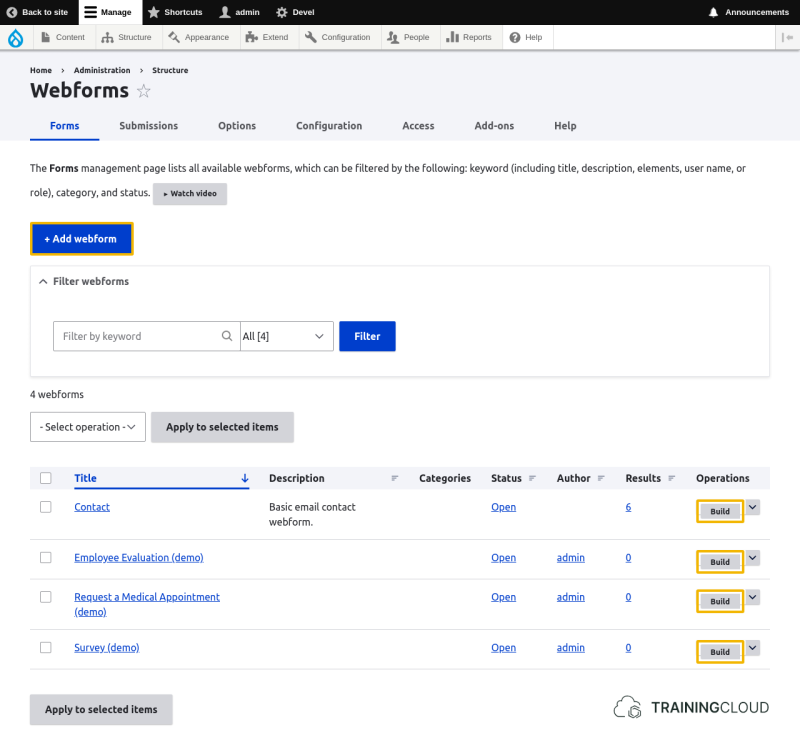
From the Form Manager at Administration > Structure > Webform you can launch the Form Builder by adding a new form or editing an existing one:
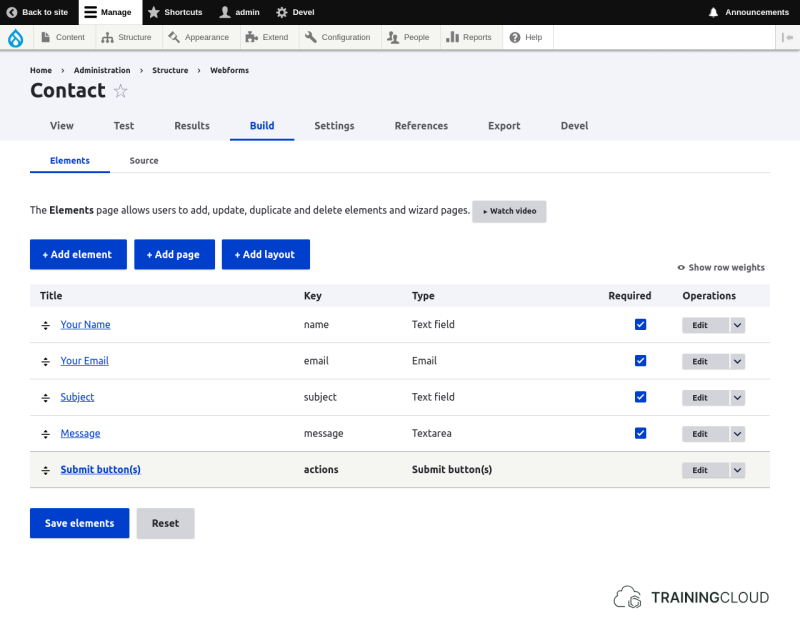
Let's explore the Form Builder interface by having a look at the Contact form that comes with the Webform module:
Once you've created a form, you add elements to it, selecting the most appropriate element type depending on the type of data you expect people to fill in:
- use text elements for generic text data
- use number elements for generic number data
- use date elements for dates
- use email elements for email addresses
- use link element for hyperlinks
and so on.
Though the interface and mechanism are different from the Field UI that you use to add fields to Entity Types, the idea and the process are the same.
Activity
- Which types of elements are used on the Contact form?
- Change the name element to "Name".
- Change the email element to "Email".
- Remove the subject element
Editing elements
When you add an element or edit an existing one, the screen splits into two parts, and the Element Editor becomes visible:
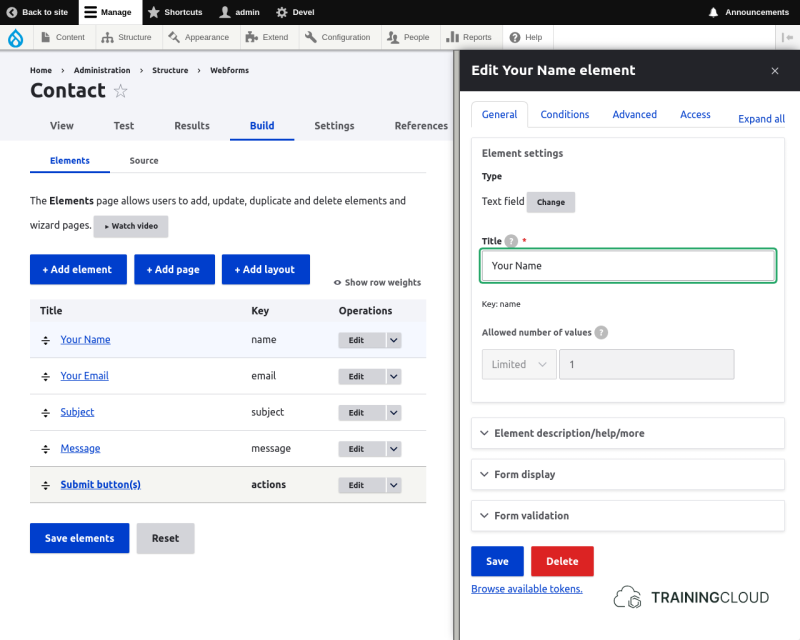
Though the available options depend on the element type, the Element Editor always has 4 local action tabs:
- General
- Conditions
- Advanced
- Access
Element Editor - General options
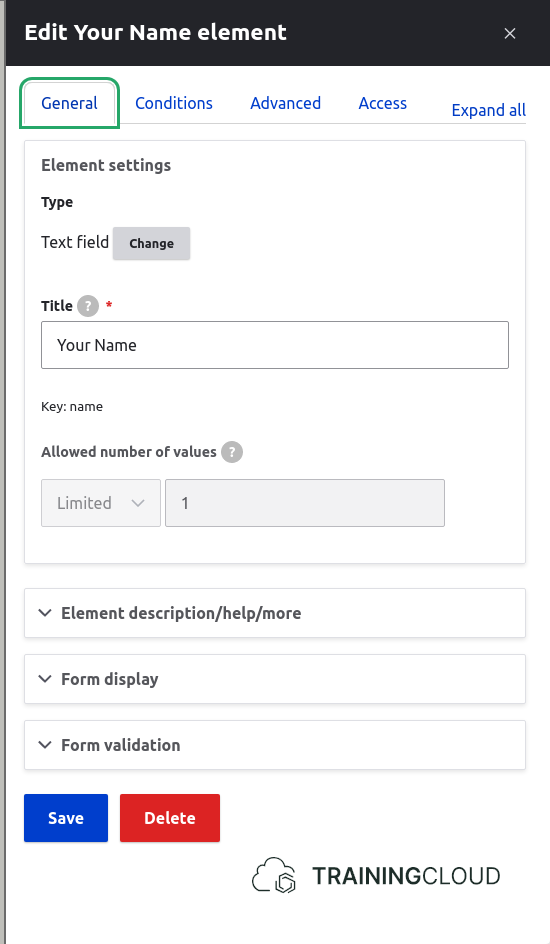
The General options are where you will spend most of your time when you're configuring webforms.
The most important options include:
- element name
- number of allowed values
- description and help text
- options (if it's a select list or radio buttons / checkboxes)
- whether the element is mandatory, needs to contain a unique value, needs to follow a certain pattern (like credit card numbers), has a default value, etc.
Element Editor - Conditional options
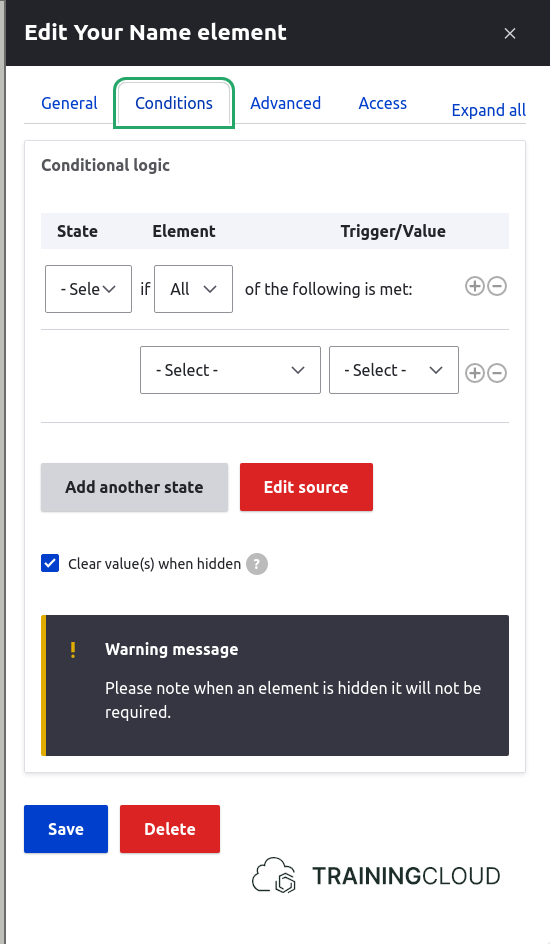
The elements on the Conditions tab let you add conditional logic to your element, such as showing or hiding certain element based on the chosen value of another element, or hiding a set of element if the value of another element is "no".
→ We'll go deeper into this in the unit on Conditional Element Logic.
Element Editor - Advanced options
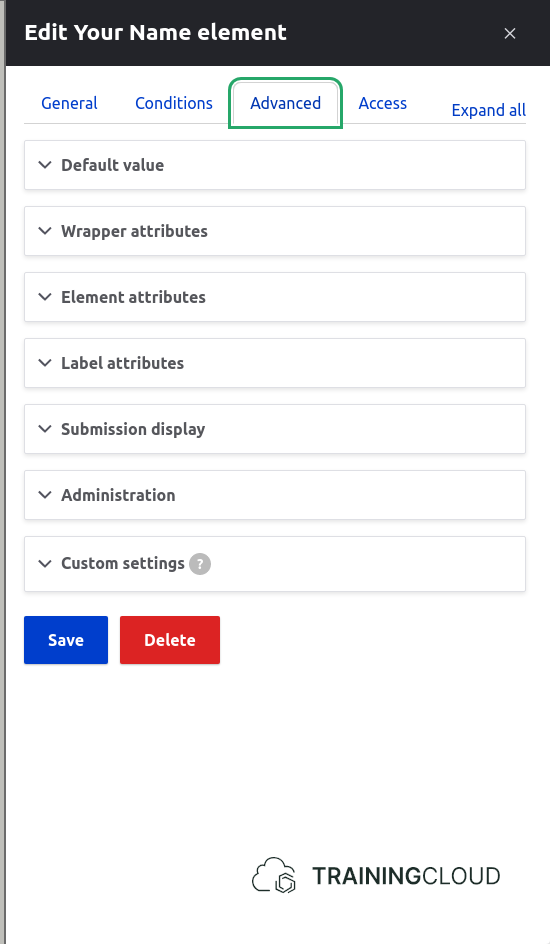
The Advanced tab mostly lets you specify CSS classes or inline CSS styles to the form element, its wrapping HTML element, and its label. This is useful if you want a quick way to add styling to a webform element.
Element Editor - Access options
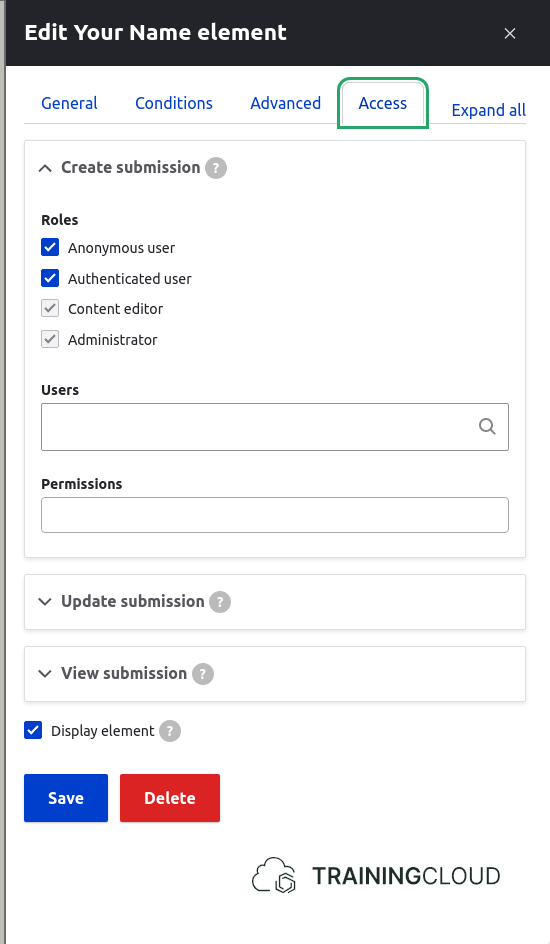
The Access options let you specify which roles or individual users have permissions to use this element, view this element's value in a previous submission, or update this value in a previous submission.
This could be useful when:
- you want to hide certain elements on the form based on the user's role
- you only want administrators to see the value certain people submitted for a certain element
Examples:
- staff are allowed to view the product orders, but only admins are allowed to see the "credit card" element values on those orders.
- staff can see all elements of an order, but are only allowed to update the "shipping address" elements
Summary
- The Form Builder and Element Editor provide a visual interface for building webforms.
- The Webform module offers a wide range of webform elements for you to build your form.
- You can configure each webform element on four levels:
- General (defaults, mandatory or not, option values, ...)
- Conditions (conditional element logic)
- Advanced (add CSS classes and other properties to elements, wrappers, labels)
- Access (specify which role/user can use, view, or update the element)