Objectives & prerequisites
- Give a definition of "asset library".
- List the steps to take to use an asset library to load a custom CSS file on all pages.
- Basic familiarity with YAML files.
- Basic familiarity with theme info files.
Every theme needs at least a little bit of custom css or js to add style and interactivity - otherwise what would be the reason for creating custom themes?
Drupal 8 introduced the concept of asset libraries, used to specify the conditional loading of custom css and js files.
An asset library is a set of css and/or javascript files, logically grouped together with some configuration details
Rather than loading all of your stylesheets and javascript on all pages, the asset library system lets you group certain css and js files together, and then specify when, or under which conditions, each library should be loaded.
A typical approach is to create one site-wide asset library for those css and js files you need on every page load, and one or more libraries you only need on certain pages.
Scenarios
- You have a comment system that needs specific css and js, but you only show the comment form on nodes of the type Article. You split your css and js off from your site-wide css/js files, and group them into a 'comments' library. You then specify that the 'comments' library should only be included on pages of the type Article.
- You use a fancy slideshow on the homepage, but nowhere else. You group the slideshow-related css/js files in a library named slideshow, which you only load on the homepage.
- You have created a Christmas dinner registration form at /forms/xmas-dinner-reservation. You put its css/js in separate files, group them into a xmas-reservation library, and then attach the library to your form. This ensures that the css/js is loaded whenever the form is rendered on its own page or in a block.
Declaring a library
To declare one or more libraries in your theme:
- Create a file named
THEMENAME.libraries.ymlin your theme directory, replacing THEMENAME with the name of your theme. - Declare a library in your
THEMENAME.libraries.ymlfile. - Load the library globally, or attach it to specific pages or components.
Let's see what libraries actually look like.
Note that the libraries file is a YAML file:
- Each indentation step must be 2 spaces.
- Tab characters are not allowed.
Example 1: a library that references a single css file
# File: my_theme/my_theme.libraries.yml
my-small-library:
 css:
   theme:
     css/mycomponent.css: {}
Example 2: a library that references multiple css files
# File: my_theme/my_theme.libraries.yml
my-component-library:
 css:
   theme:
     css/my-component-colors.css: {}
     css/my-component-typography.css: {}
     css/my-component-structure.css: {}
Example 3: a library that references css and js files
# File: my_theme/my_theme.libraries.yml
my-mixed-library:
 css:
   theme:
     css/my-component.css: {}
 js:
   js/my-component.js: {}
   js/some-other-stuff.js: {}
Example 4: a library for a slideshow
# File: my_theme/my_theme.libraries.yml
my-slideshow:
 css:
   theme:
     css/slideshow.css: {}
 js:
   js/slideshow.js: {}
Global assets
By convention, styles and scripts that are to be loaded on every page are grouped into libraries named global-styling and global-scripts.
Example 5: global assets
# File: mytheme/mytheme.libraries.yml
global-styling:
 css:
   theme:
     css/style.css: {}
     css/colors.css: {}

global-scripts:
 js:
   js/trackers.js: {}
   js/advertising.js: {}
   js/animations.js: {}
Including a library via the info file
The basic properties of every theme, including the asset libraries to use, are defined in their THEMENAME.info.yml file.
Assuming your libraries file (THEMENAME.libraries.yml) contains the global-styling example mentioned in example 5, the following should be added to THEMENAME.info.yml to ensure the assets defined in each library are loaded on every page:
# File: my_theme/my_theme.info.yml
libraries:
 - THEMENAME/global-styling
 - THEMENAME/global-scripts
Complete example
Assuming your theme is named Corporate, and you have the following directory structure:
corporate/
├─ css/
│  ├─ corpstyle.css
├─ js/
│  ├─ somescript.js
│  ├─ otherscript.js
corporate.info.yml
corporate.libraries.yml
# File: corporate/corporate.libraries.yml
global-styling:
 css:
   theme:
     css/corpstyle.css: {}

global-scripts:
 js:
   js/somescript.js: {}
   js/otherscript.js: {}
# File: corporate.info.yml
name: "Corporate."
description: "This is our corporate theme."
type: theme
base theme: stable9
core_version_requirement: ^10
libraries:
 - corporate/global-styling
 - corporate/global-scripts
→ if you have been following along with the mytheme examples, you will have custom template files with red, green, blue, and purple borders. Before you continue, remove all of those inline styles now. We will replace some of them via libraries, and we don't want any leftover inline styles to confuse us.
Activity 1
Go through each Twig template file in your mytheme theme and remove all inline styles now.
Save the files and clear your caches.
Activity 2
During this activity you'll create a CSS file, create a global asset library that includes the CSS file, and update your info file to ensure the library is loaded on every page. We will not include any JavaScript files yet.
- Create a directory named
cssin the root of yourmythemetheme directory. - Create a stylesheet named
style.cssin your new/css/directory, with the following content:
body {
 border: solid red 10px;
}- Create a file named
mytheme.libraries.ymlin the root of your theme, with the following content:
global-styling:
 css:
   theme:
     css/style.css: {}
Add the following to your info file:
libraries:
 - mytheme/global-styling
Review and save everything, clear your caches, and reload the homepage.
If all went well, you should now see a red border around every page.
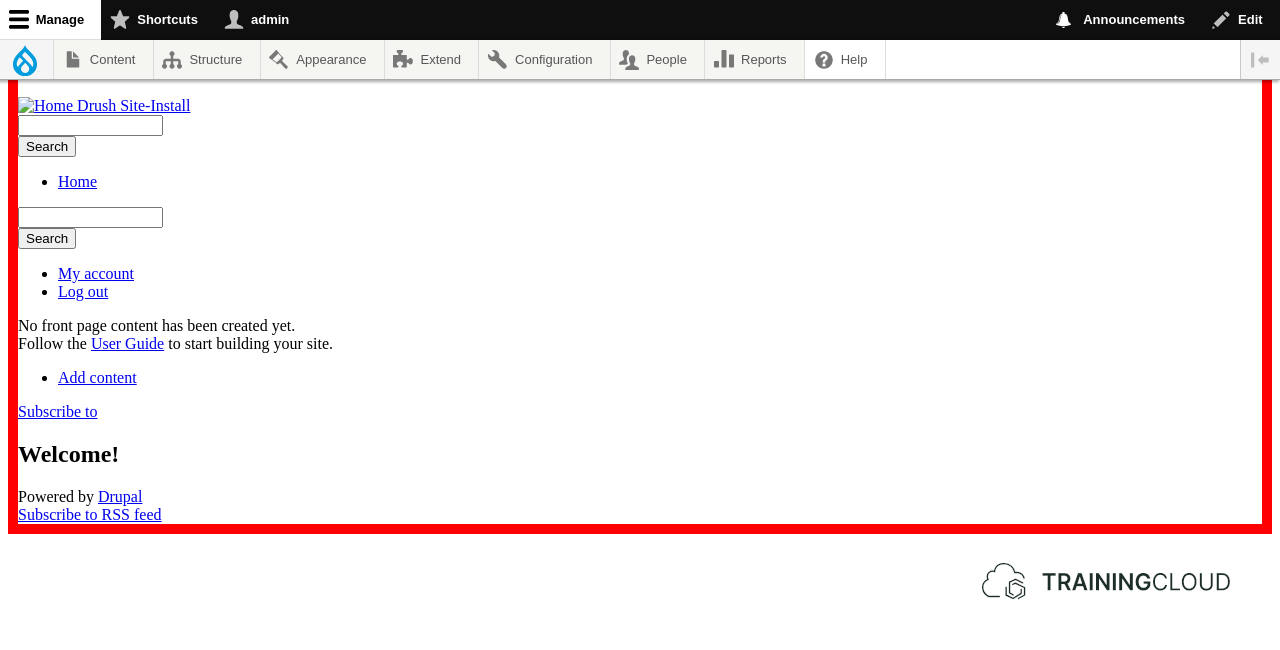
Why the red border?
During front-end web development it's common practice to draw red borders around elements to debug your CSS style sheets and/or test complex CSS selectors.
We advise adding a red border around your page as a first step to verify that your theme is active, your libraries are defined and referenced correctly, and your CSS is being loaded by Drupal.
Once everything looks in order, you can remove the red border again, and start adding useful styles.
Other ways to include asset libraries
So far we discussed how to declare an asset library and ensure it is loaded on every page by adding the following to the info file:
libraries:
 - mytheme/global-styling
Conclusion
Rather than instructing Drupal to load specific CSS or JS files directly, Drupal's Asset Library system lets you bundle assets together into a library.
Once you have defined one or more libraries, you instruct Drupal to load them when and where you need them. In this unit you have learned the most often-used and most straightforward way to load a library on every page: by updating the theme's info file and including the library in the list of values for the libraries key.
In next units you will learn about:
- Attaching Asset Libraries via
preprocess()functions - Attaching Asset Libraries via
form_alter()functions - Attaching Asset Libraries via Twig templates
Summary
- You can organise your assets inside your theme directory however you want.
- Asset libraries group CSS and JS files together so you can refer to them collectively.
- You declare asset libraries in
THEMENAME.libraries.yml. - You indicate which libraries to load globally in
THEMENAME.info.yml. - Libraries that group assets for global usage (loading on every page) are by convention named global-scripts and global-styles.